Schedule an Appointment
615.739.5477 nashville@studiowed.net
Location
338 46th Ave North
Nashville, TN 37209
Nashville Location

October 2012 Archive

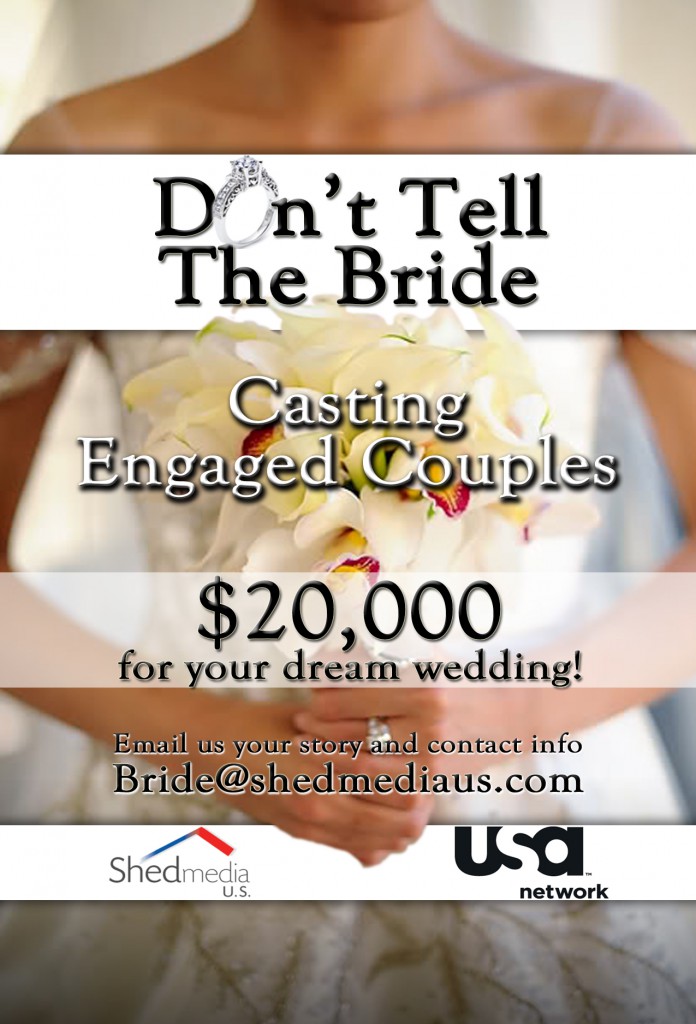
Don't Tell the Bride Casting Call!

Are you recently engaged but lack the funds to have your dream wedding? Want to get married fast — as in, by December of this year? Do you love adventure? If so, this is for you!!!!

Shed Media US & USA are casting dynamic couples who are currently engaged, but lack the funds to have a dream wedding.  Each episode focuses on one couple’s big day and what it takes to make the wedding happen.  The bride and groom agree to avoid all communication with each other for two weeks before the ceremony.  In exchange, the groom is given $20,000 to plan the entire wedding without the bride’s input. Have no fear; each groom ultimately creates a unique wedding to celebrate his true love and a chance to show his bride what he’s made of!

CASTING REQUIREMENTS:
– Must be over 18 years of age
– U.S. residents
– Currently engaged
– Willing and able to get legally married in December 2012.
– Have a few groomsmen and bridesmaids with big personalities willing to be on the show with you
– No long distance or destination weddings. You must be willing to marry within driving distance of couple’s residence(s).


HOW TO APPLY:

Send an email to BRIDE@SHEDMEDIAUS.COM with the following:
BRIDE name, age, phone number and email
GROOM name, age, phone number and email
-City/State
-A brief background on your story/relationship and why you need a 20K dream wedding
Recent photo of you and your fiance’

Kelly Planned a Wedding: Paper Goods Details

Last week, I wrote about our gorgeous invitation suite and the process for designing them with Brocade Designs.

Now I’m going to give you some insight on our paper goods — the projects we designed with the help of family and friends that made up all the little details of our day.

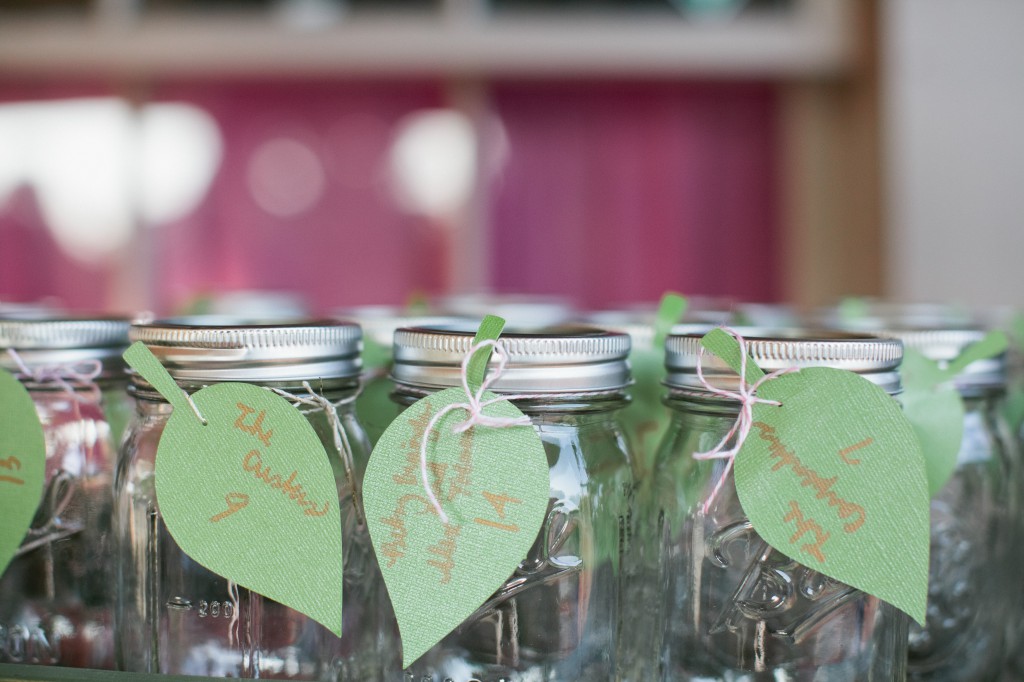
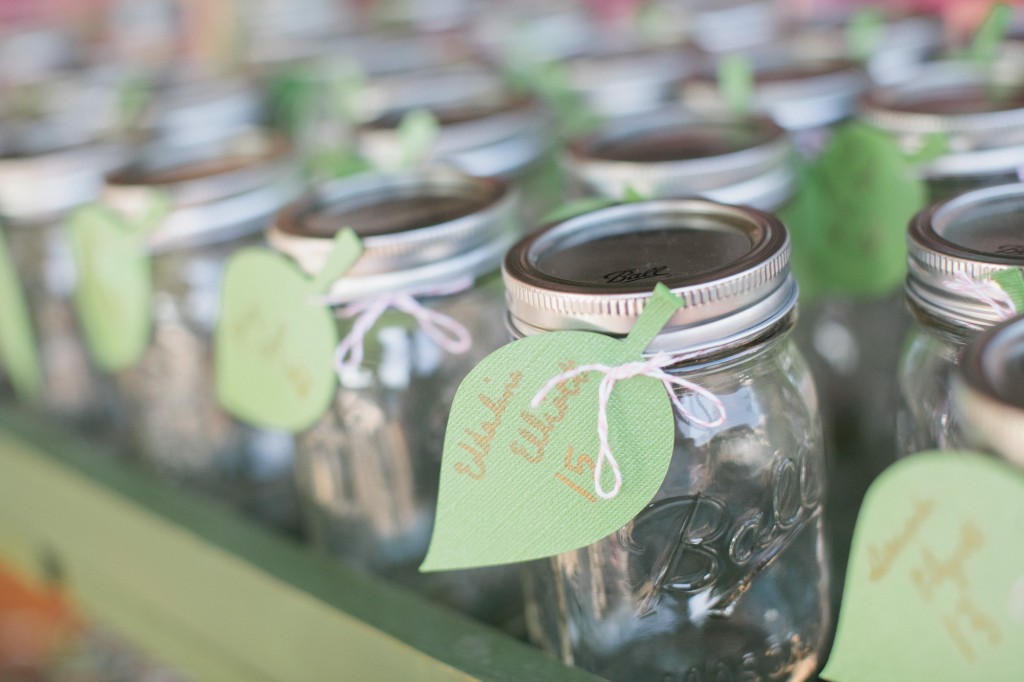
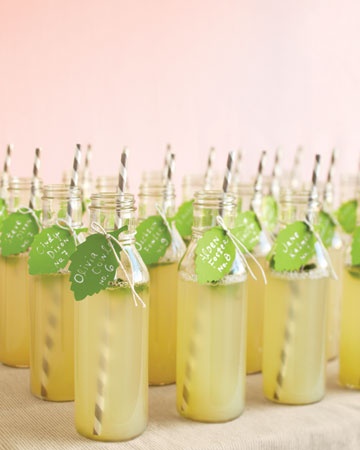
First things first — our escort cards. These were inspired by a Pinterest image I fell in love with forever ago (source: Martha Stewart). I loved the little leaf tags and striped straws. While we couldn’t end up doing the tall highball glasses I loved so much, our “favor” doubled as escort cards and drinking glasses: the Mason jar! At first I tried SO hard to avoid having ANYTHING burlap, Mason jar, or “distressed” — some trends die hard (and wear out fast) in the eyes of a wedding professional. However, I gave in to the Mason jars since they’re pretty damn cute and legitimately Southern.

Hillary helped me out with these by taking the green shiny textured scrapbooking paper I purchased at Michaels and cut them with her Cricut into these cute little leaf shapes.  I then punched holes (with a teensy tiny hole punch) to string pink and gold striped baker’s twine through the tags to tie them on. With the help of my team of six bridesmaids (as well as my aunt — who happened to be in the line of fire while I was neck-deep in escort card-making), I hand-wrote the names of wedding guests on the tags with a gold Sharpie (that was supposed to be a thin-tipped paint pen). Oh, and by the way? This was still happening until NOON ON MY WEDDING DAY. Word of advice:  Do these as early as you can. Go ahead and make up the tags (or cards, whatever) before you get all those last-minute RSVP’s. Then just toss the ones who end up not being able to come. It’s better to have too many done early than to have a boatload left to do the MORNING OF YOUR WEDDING.

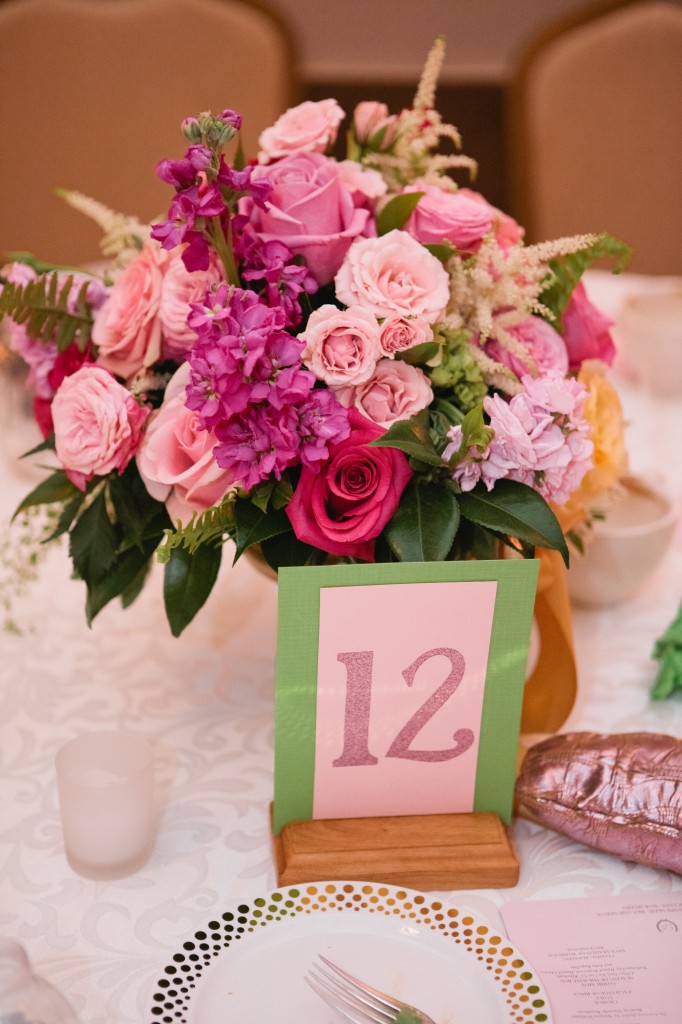
Next up — our table numbers! Two of my bridesmaids (Laken and Julianna) took a huge pile of scrapbooking paper to the Cricut to cut out 23 numbers for our table assignments (the Monday before our wedding).  We backed one matte cut-out with glitter paper, and then backed THAT with a contrasting matte solid. My father made all of our gorgeous little stained wooden stands the day before the wedding (once we realized we didn’t have anything to prop them up, and picture frames would be upwards of $100 to purchase for all 23 tables — even at the lowest price point I could find).

The one thing I failed to remember when creating our table assignments was writing out which table would go where. It resulted in my elderly relatives being sound-blasted right next to the DJ speakers… whoops. Word of advice:  Don’t forget that!!!!!

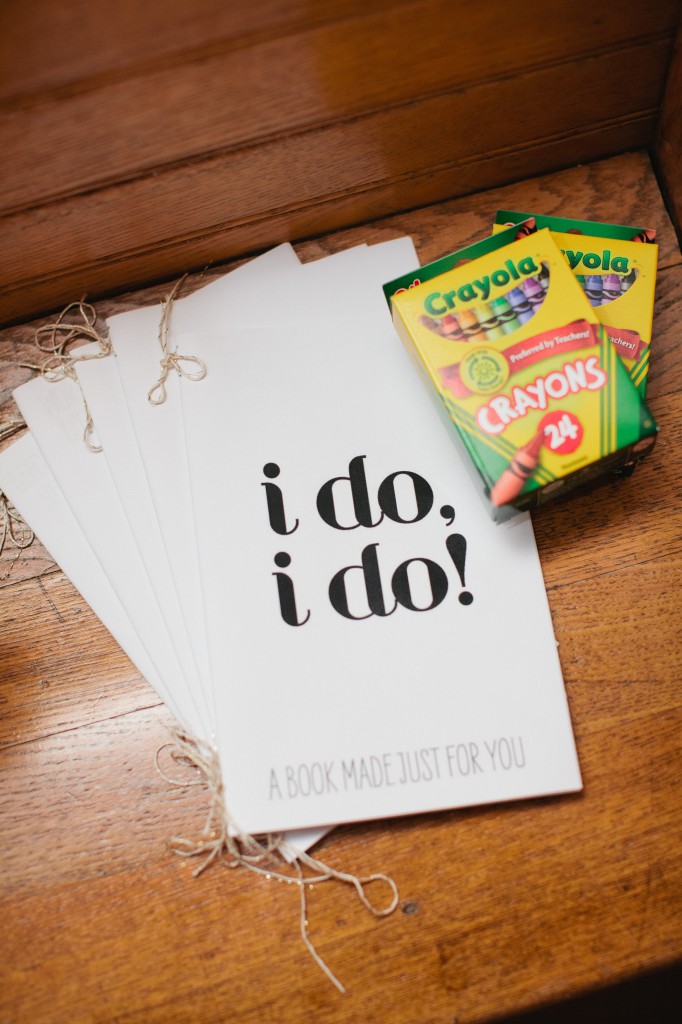
Then we have the children’s coloring books. I saw these printed in their beautiful glory at a friend’s wedding I coordinated this past spring and had to do it myself.

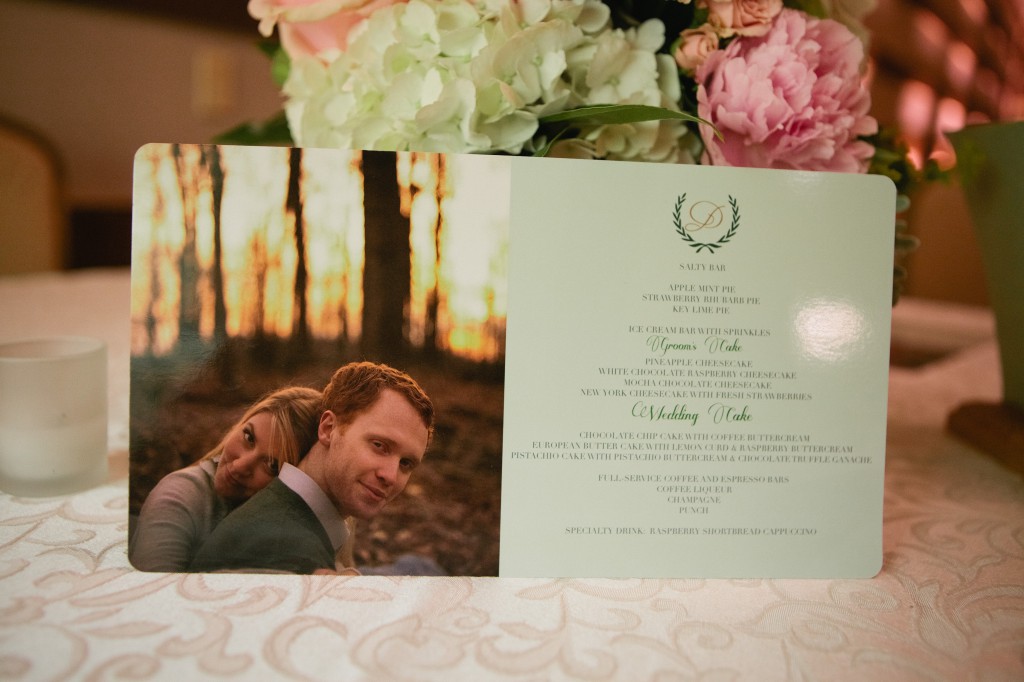
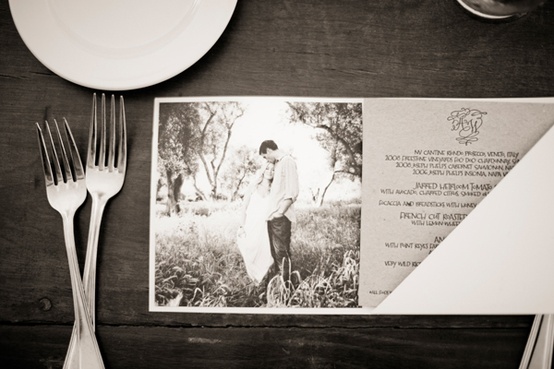
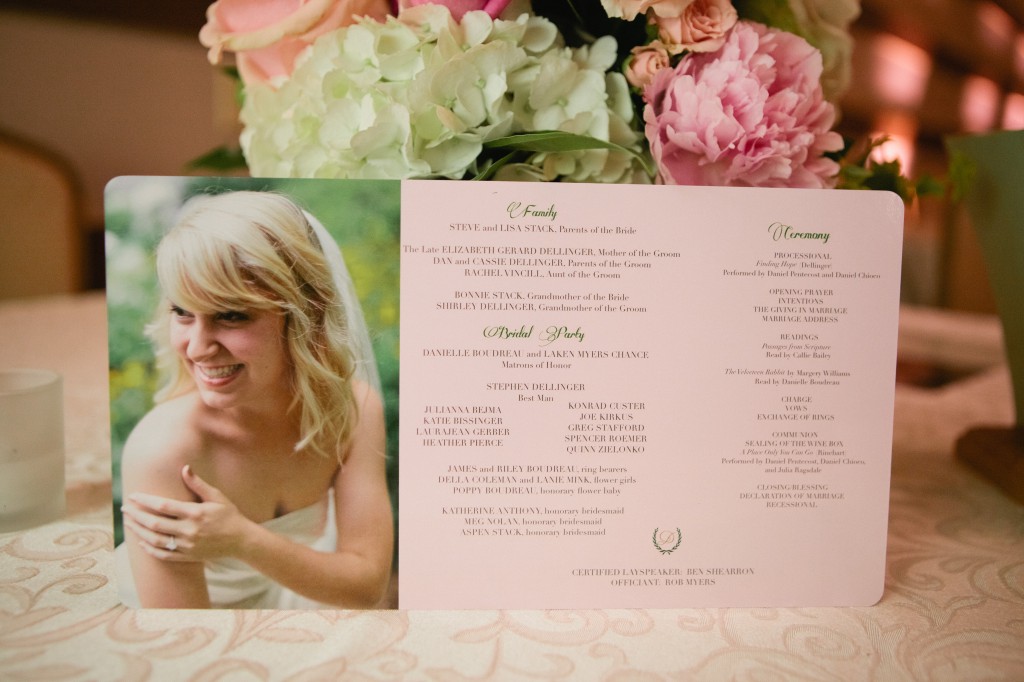
We printed our menu/programs a couple weeks before the wedding. Maybe the week before. (They may or may not have come just two short days before our nuptials — whoops!) I’d fallen in love with a similar design (see below) months and months before we ever got engaged, but the project got pushed to the backburner amidst all our other plans, invitation-designing, etc. I took Hillary’s “D” monogram she’d designed for our invitation suite and used the same font from our invitations, added pictures from our engagement session and my bridal portraits, and created combination menu/programs! I printed them on OvernightPrints.com on a 6″ x 11″ (I think) glossy thick cardstock with rounded edges. I love how they turned out!!!

{Original design inspiration — this is actually a little book with a built-in folder for the menu to sit in, but I loved how it looked open like this!}

Devising our final ceremony script and menu was what prompted us to FINALLY put these into production. So luck they came in on time!

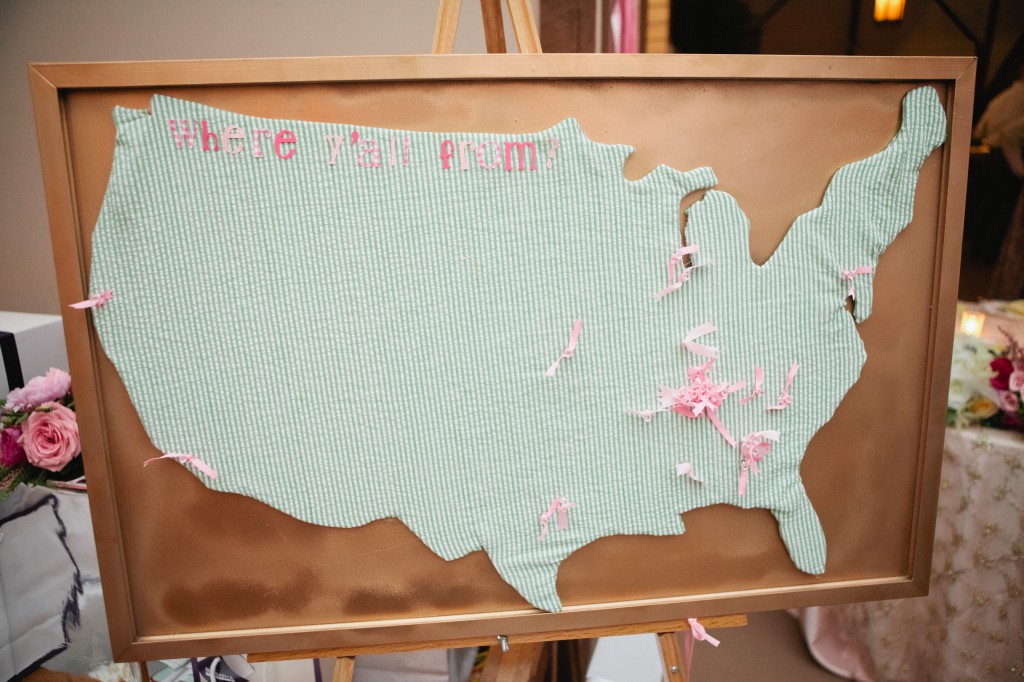
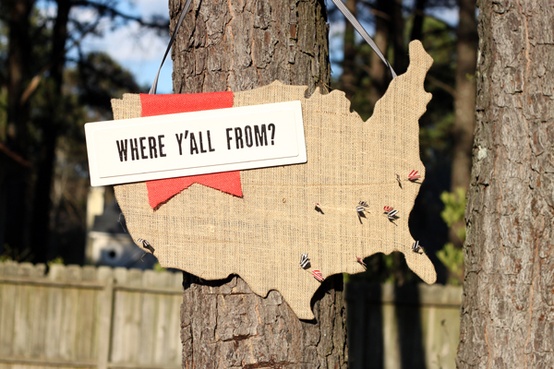
Our “Where Y’All From?” board was inspired by another Pinterest find (made from burlap). I knew from the get-go that I wanted one made out of our wedding’s signature textile, green seersucker. My best friend (and MOH) came over one weekday over the summer and traced and exacto-knife cut out the shape of the USA out of foam board, which we then covered with a large scrap of seersucker and fastened via hand-pressed staples! Laken backed it on a gold spray-painted chalkboard (used in her wedding this past June) and Cricutted letters in pink printed scrapbook paper to write the words.  A girls’ night sleepover the Tuesday before the wedding resulted in the finished ribbon-tied pushpins guests used to designate where they traveled from!

{Original inspiration!}

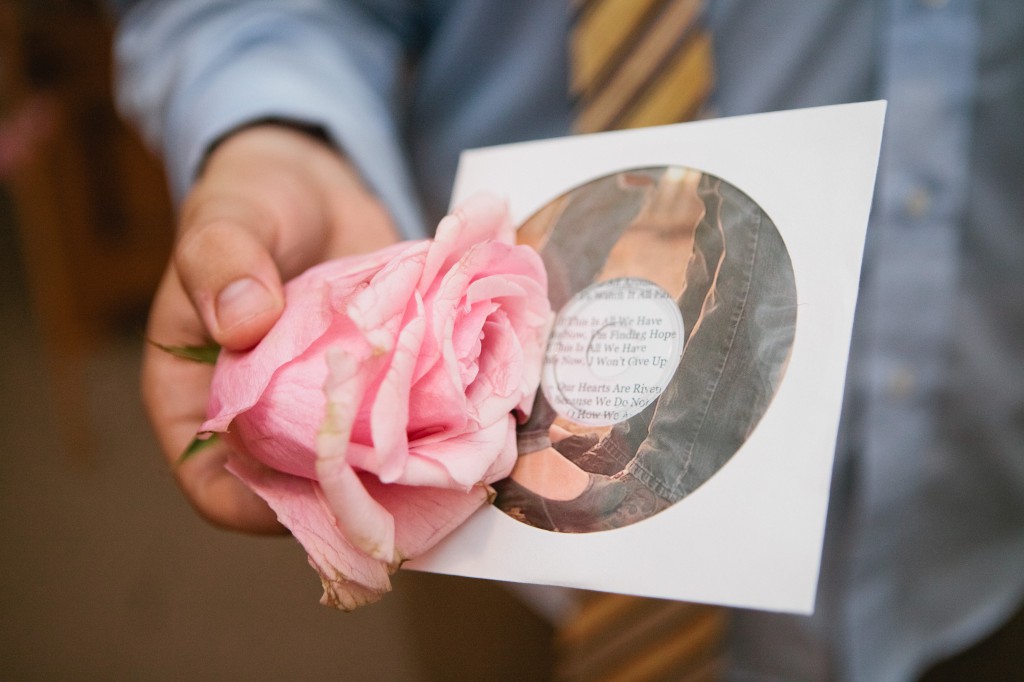
Last but not least, one of Drew’s most invested wedding projects was a mixed CD of songs that were meaningful to our relationship or inspired him. We handed these out to guests at the end of the night.  Note the engagement photo CD label! :)

So there you have it! DIY projects galore. See my recap of our save-the-date designing process and invitations here!

Photo of the Week

Courtesy of Justin Wright.

Kelly Planned a Wedding: The Invitation Suite

Joining the wedding industry fuels the love of certain things in a bride’s heart. Things like paper goods. Ask any wedding planner if she’s a sucker for stationery — I bet she’ll start swooning. Just look at the following for Stationery Academy!! I love looking at recap posts from the Academy; pretty typefaces and thick cardstocks and gorgeous graphic prints, oh my!

When Drew and I first started planning out how we’d be announcing our engagement and inviting guests to our soiree, initially we came into things with serious budget-vision. We tried to see what our cheapest options were, looking at ready-made invites online and etsy vendors with low prices. However, over the course of planning and utilizing Brocade Designs‘ event design services, we began to fall madly in love with the idea of a custom suite built to fit our specific vision!

Hillary did not disappoint. After filling out an extensive questionnaire, sending pictures of paper suites I adored, gasping over gorgeous fonts, tossing creative ideas around and tweaking verbiage… she sent me several stunning options.

Here’s my initial inspiration:
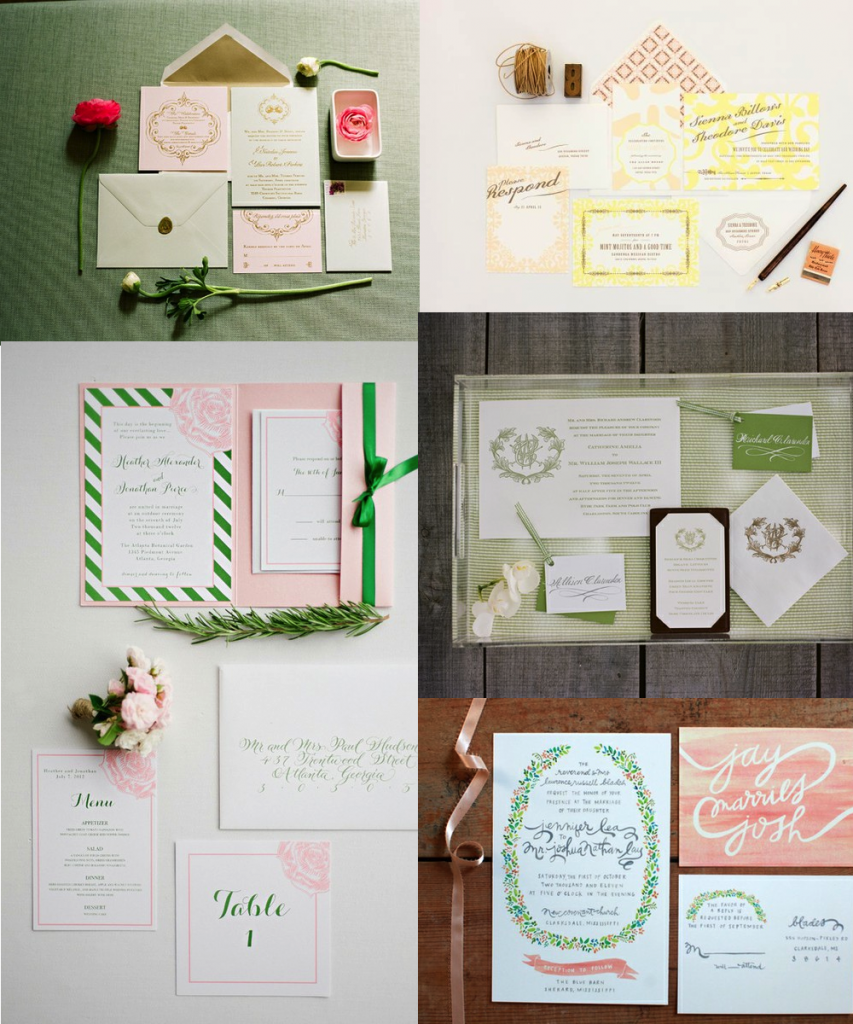
As you can see, the elements I was drawn to were:  suites in our color family (pinks, greens, taupe/gold), calligraphy-esque fonts, graphic (sometimes geometrical) prints, monograms, wreath detailing, and a soft/romantic look.

Hillary took those ideas and came up with three different models for our invitation.
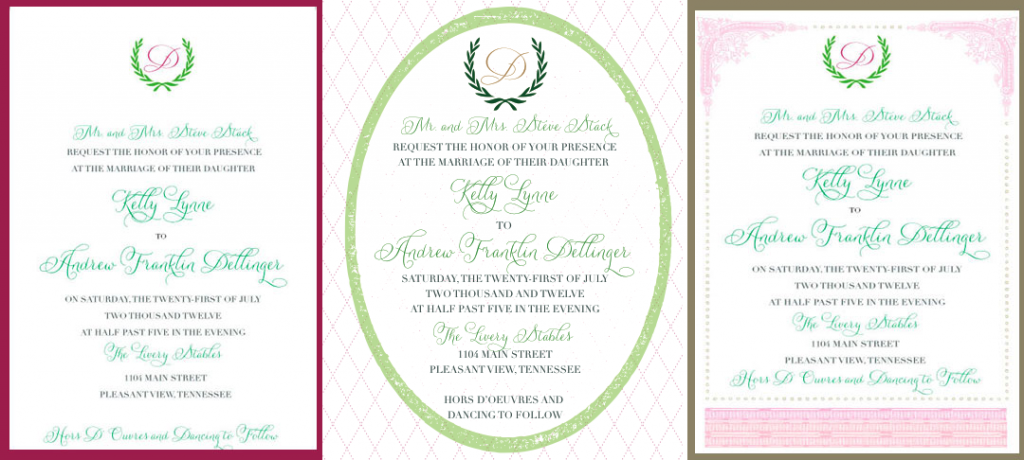
Our favorite of the three was the model on the far right — the champagne backing and paler pink detailing seemed a little less feminine-only (although I tossed the idea of having it be completely gender-neutral pretty early on), I loved the fonts and outline pattern, and it could easily be translated into a cohesive invitation suite!

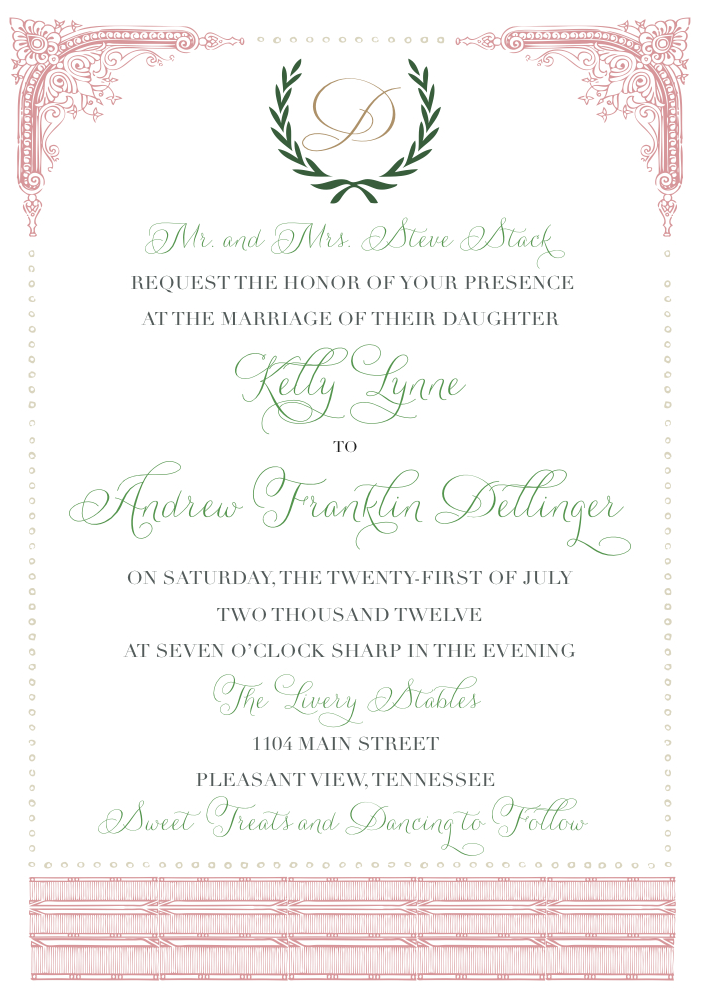
We tweaked a couple of things:  changing the color of the “D” monogram, adjusting the font and design hues a bit, and then changing the reception info/time (after we fired our caterer mid-invitation design period!). Finished design? See below!
For our RSVP cards, I had the strike-of-genius idea one evening to do a cookbook as our guest book*, compiling recipes from guests as they RSVP’d to the wedding. Hillary designed a super-cute matching RSVP card for the suite.
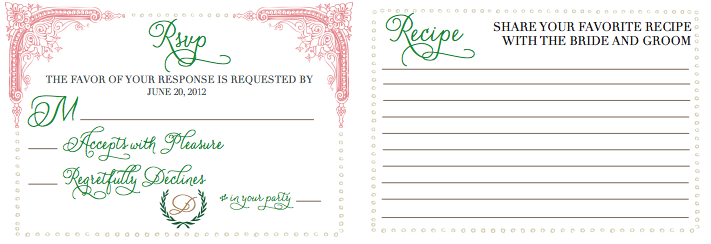
(*We didn’t actually make the cards into a guest book per se, but we do have them all to reference whenever we want a great new married recipe to make!)

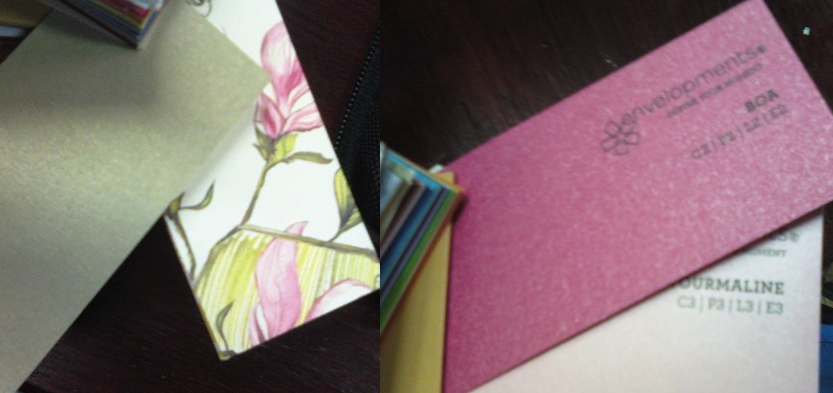
Hillary showed me a pretty little booklet of paper types to choose for our big envelopes, RSVP envelopes, and envelope liners. I opted for the prettiest pink-and-green floral print liner (slid inside a STUNNING sparkly ballet pink envelope) and a little pop of bright raspberry pink for the RSVP cards.
After a few months of helping Hillary around the shop with crafts, I couldn’t stop there with the invites. To make them extra-special fancy and gorgeous, I crafted a multi-layered belly band with lace and ribbon to hold the pieces together. I made my team of dedicated bridesmaids slave away with me putting the pieces all together. It took a week, but the result was amazing!!!!! Way better than I ever could have imagined. Gorgeous work, Hillary!
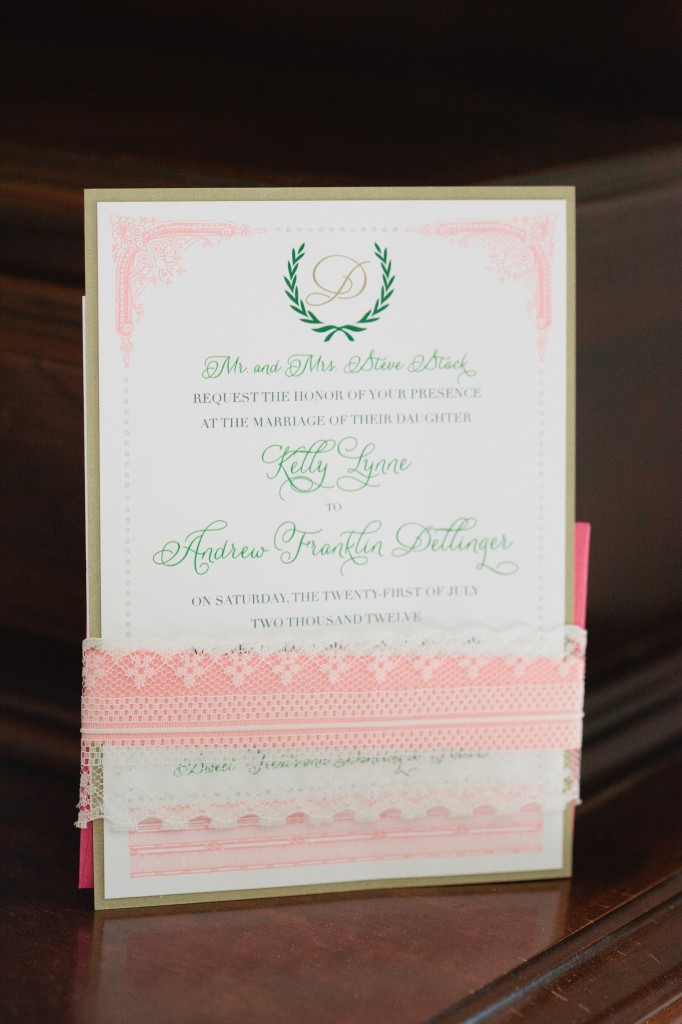
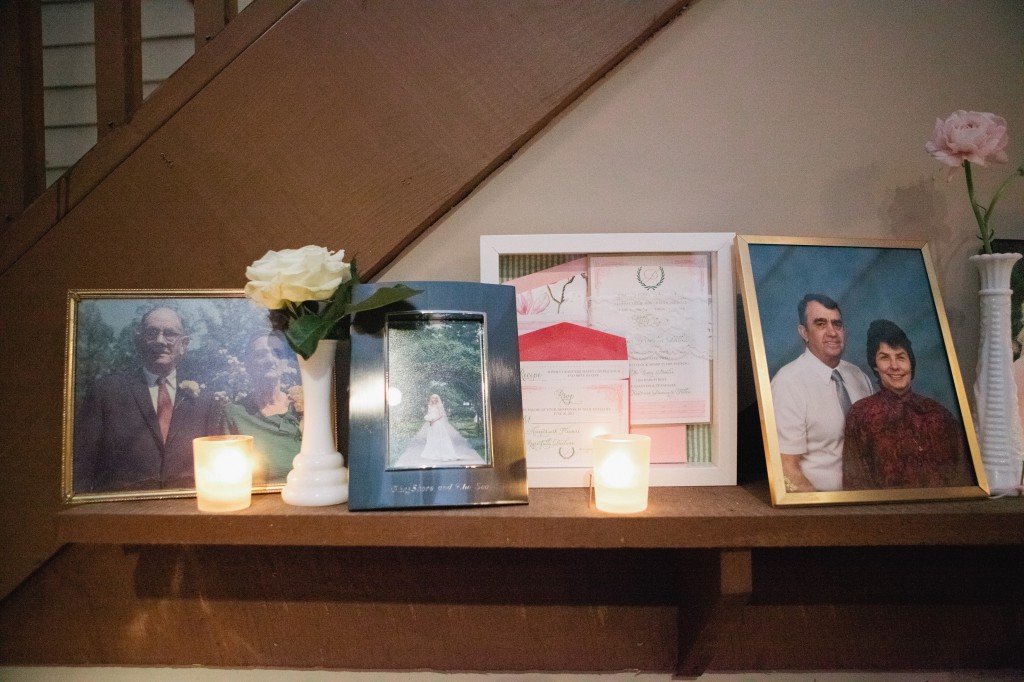
{And in action:: As framed in my little shadow box on display at our reception!}

Stay tuned next week to see our other paper goods — save-the-dates we created from some favorite photos from our engagement shoot with Brett Price, menu/programs inspired by Style Me Pretty that tied in our invite suite, the escort cards that I didn’t finish until noon on our wedding day, and more!

~ Kelly