Last week, I wrote about our gorgeous invitation suite and the process for designing them with Brocade Designs.
Now I’m going to give you some insight on our paper goods — the projects we designed with the help of family and friends that made up all the little details of our day.
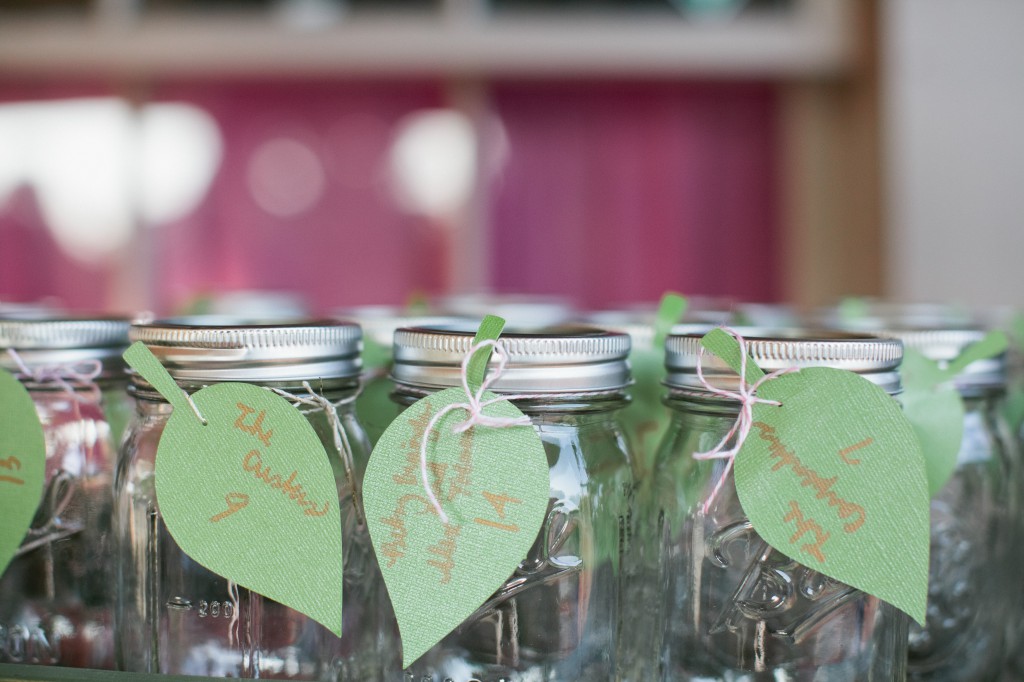
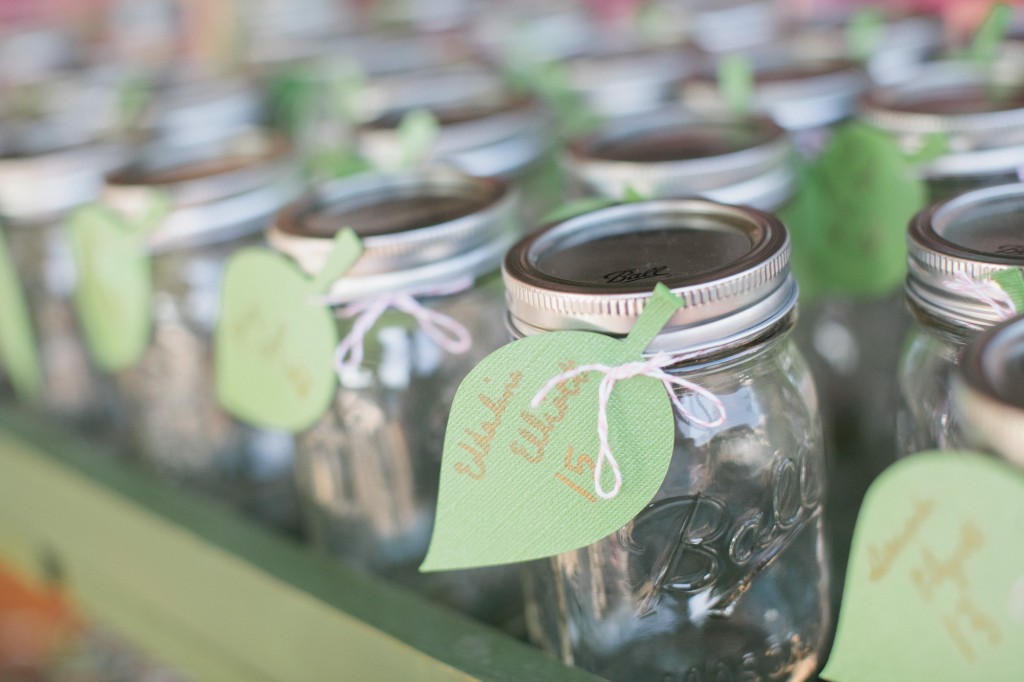
First things first — our escort cards. These were inspired by a Pinterest image I fell in love with forever ago (source: Martha Stewart). I loved the little leaf tags and striped straws. While we couldn’t end up doing the tall highball glasses I loved so much, our “favor” doubled as escort cards and drinking glasses: the Mason jar! At first I tried SO hard to avoid having ANYTHING burlap, Mason jar, or “distressed” — some trends die hard (and wear out fast) in the eyes of a wedding professional. However, I gave in to the Mason jars since they’re pretty damn cute and legitimately Southern.
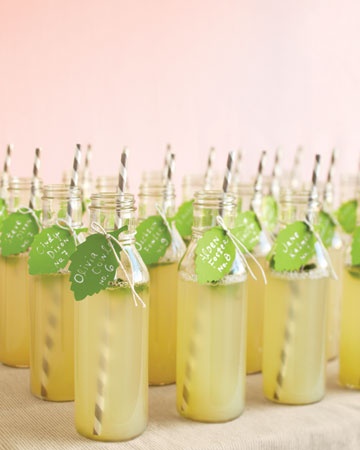
Hillary helped me out with these by taking the green shiny textured scrapbooking paper I purchased at Michaels and cut them with her Cricut into these cute little leaf shapes. I then punched holes (with a teensy tiny hole punch) to string pink and gold striped baker’s twine through the tags to tie them on. With the help of my team of six bridesmaids (as well as my aunt — who happened to be in the line of fire while I was neck-deep in escort card-making), I hand-wrote the names of wedding guests on the tags with a gold Sharpie (that was supposed to be a thin-tipped paint pen). Oh, and by the way? This was still happening until NOON ON MY WEDDING DAY. Word of advice: Do these as early as you can. Go ahead and make up the tags (or cards, whatever) before you get all those last-minute RSVP’s. Then just toss the ones who end up not being able to come. It’s better to have too many done early than to have a boatload left to do the MORNING OF YOUR WEDDING.
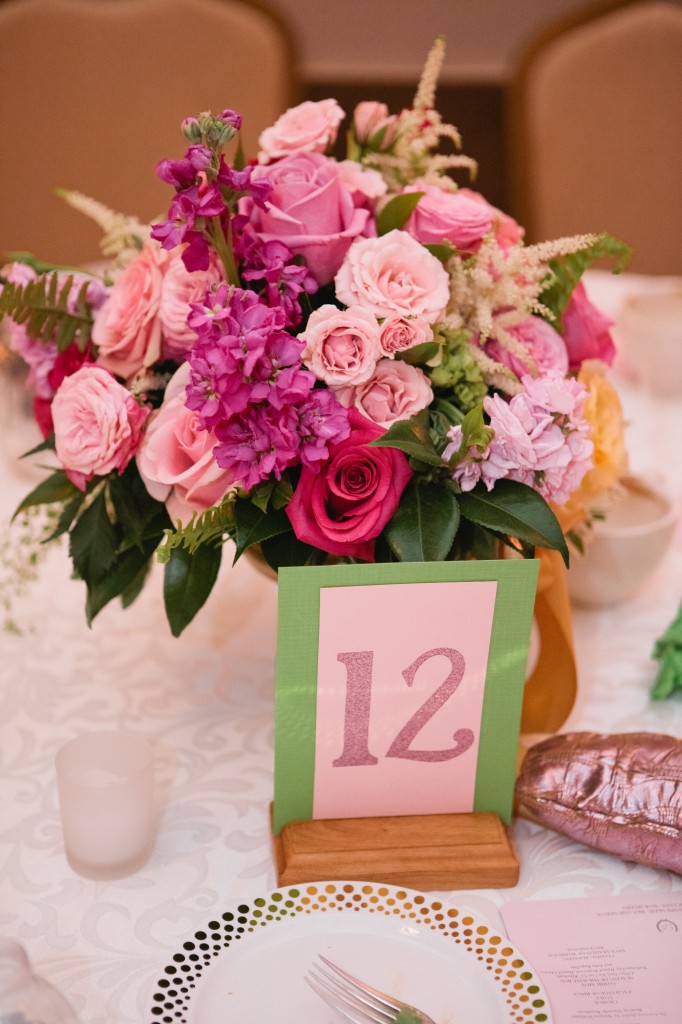
Next up — our table numbers! Two of my bridesmaids (Laken and Julianna) took a huge pile of scrapbooking paper to the Cricut to cut out 23 numbers for our table assignments (the Monday before our wedding). We backed one matte cut-out with glitter paper, and then backed THAT with a contrasting matte solid. My father made all of our gorgeous little stained wooden stands the day before the wedding (once we realized we didn’t have anything to prop them up, and picture frames would be upwards of $100 to purchase for all 23 tables — even at the lowest price point I could find).
The one thing I failed to remember when creating our table assignments was writing out which table would go where. It resulted in my elderly relatives being sound-blasted right next to the DJ speakers… whoops. Word of advice: Don’t forget that!!!!!
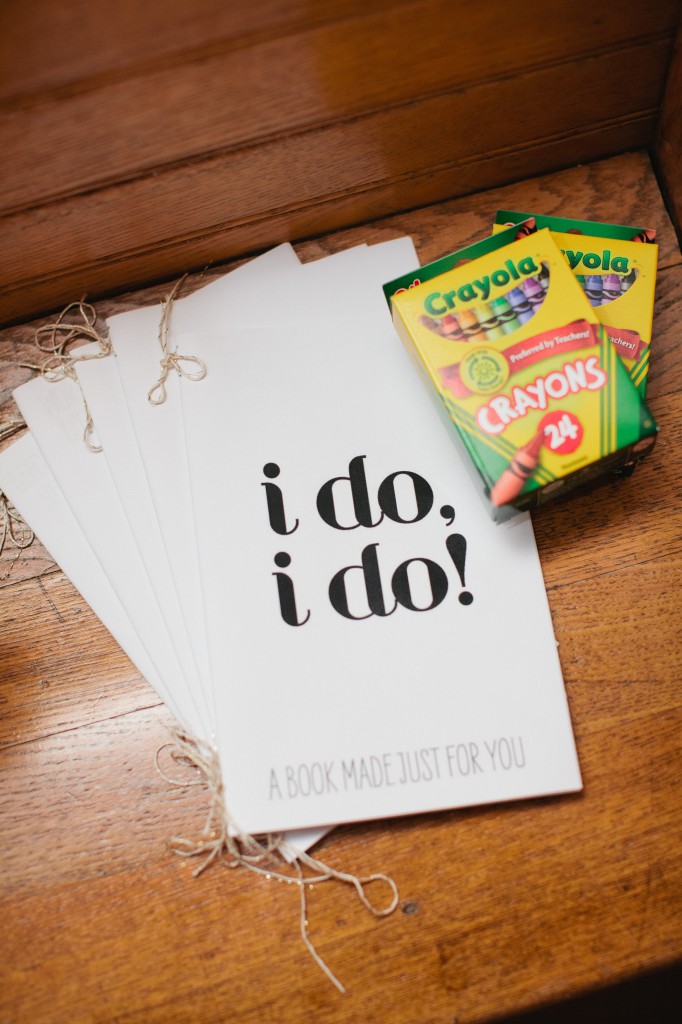
Then we have the children’s coloring books. I saw these printed in their beautiful glory at a friend’s wedding I coordinated this past spring and had to do it myself.
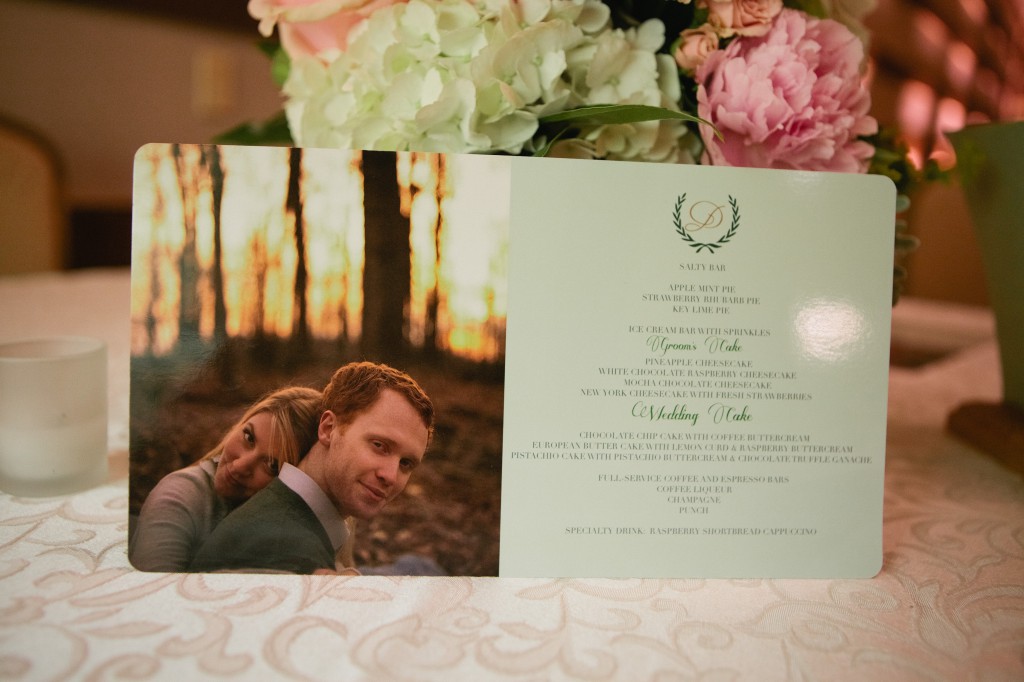
We printed our menu/programs a couple weeks before the wedding. Maybe the week before. (They may or may not have come just two short days before our nuptials — whoops!) I’d fallen in love with a similar design (see below) months and months before we ever got engaged, but the project got pushed to the backburner amidst all our other plans, invitation-designing, etc. I took Hillary’s “D” monogram she’d designed for our invitation suite and used the same font from our invitations, added pictures from our engagement session and my bridal portraits, and created combination menu/programs! I printed them on OvernightPrints.com on a 6″ x 11″ (I think) glossy thick cardstock with rounded edges. I love how they turned out!!!
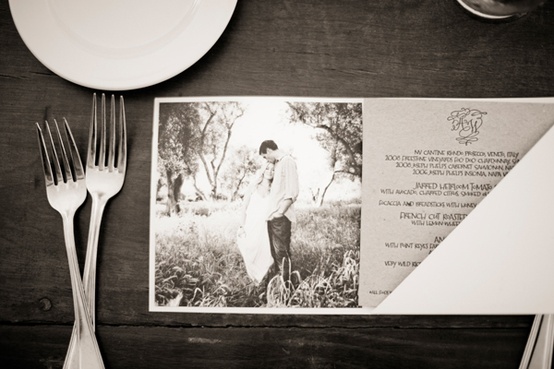
{Original design inspiration — this is actually a little book with a built-in folder for the menu to sit in, but I loved how it looked open like this!}
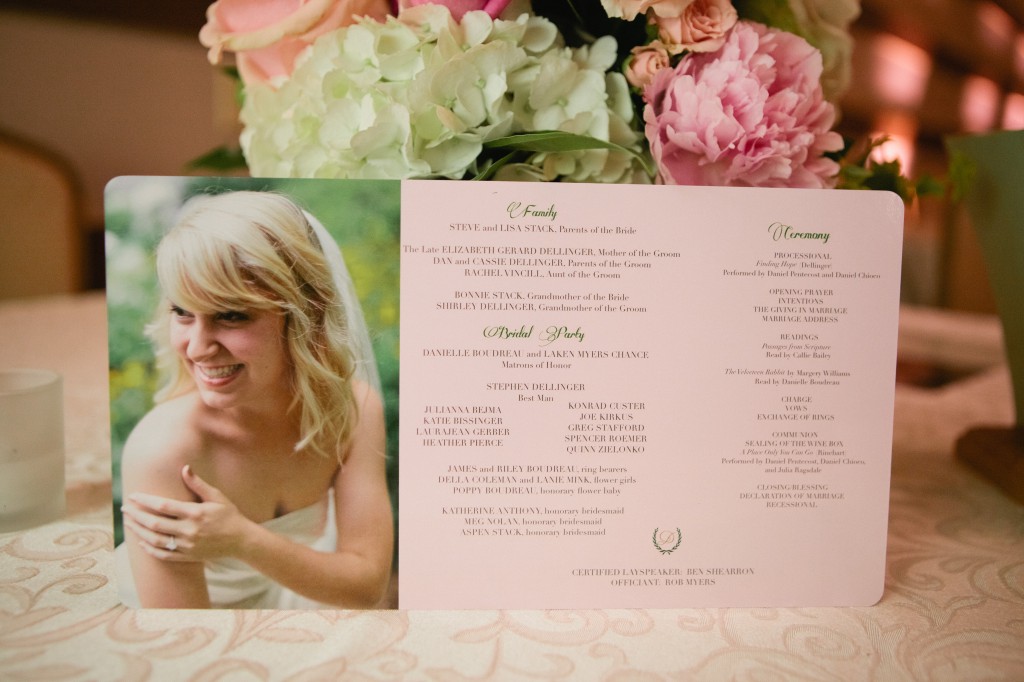
Devising our final ceremony script and menu was what prompted us to FINALLY put these into production. So luck they came in on time!
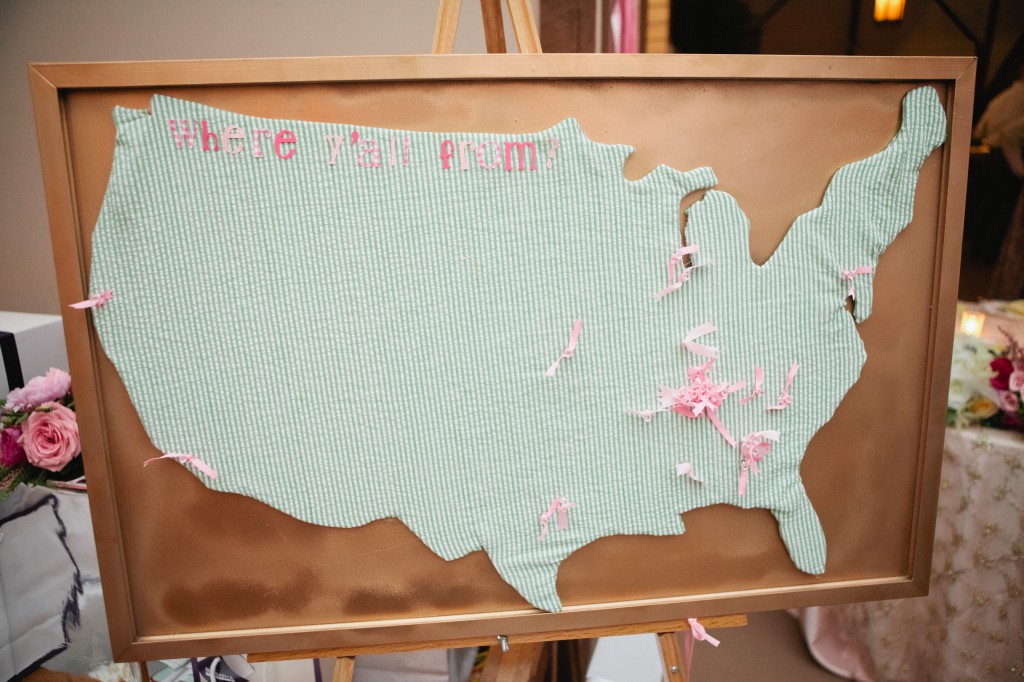
Our “Where Y’All From?” board was inspired by another Pinterest find (made from burlap). I knew from the get-go that I wanted one made out of our wedding’s signature textile, green seersucker. My best friend (and MOH) came over one weekday over the summer and traced and exacto-knife cut out the shape of the USA out of foam board, which we then covered with a large scrap of seersucker and fastened via hand-pressed staples! Laken backed it on a gold spray-painted chalkboard (used in her wedding this past June) and Cricutted letters in pink printed scrapbook paper to write the words. A girls’ night sleepover the Tuesday before the wedding resulted in the finished ribbon-tied pushpins guests used to designate where they traveled from!
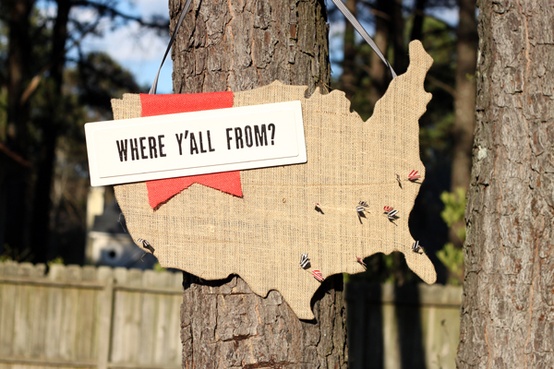
{Original inspiration!}
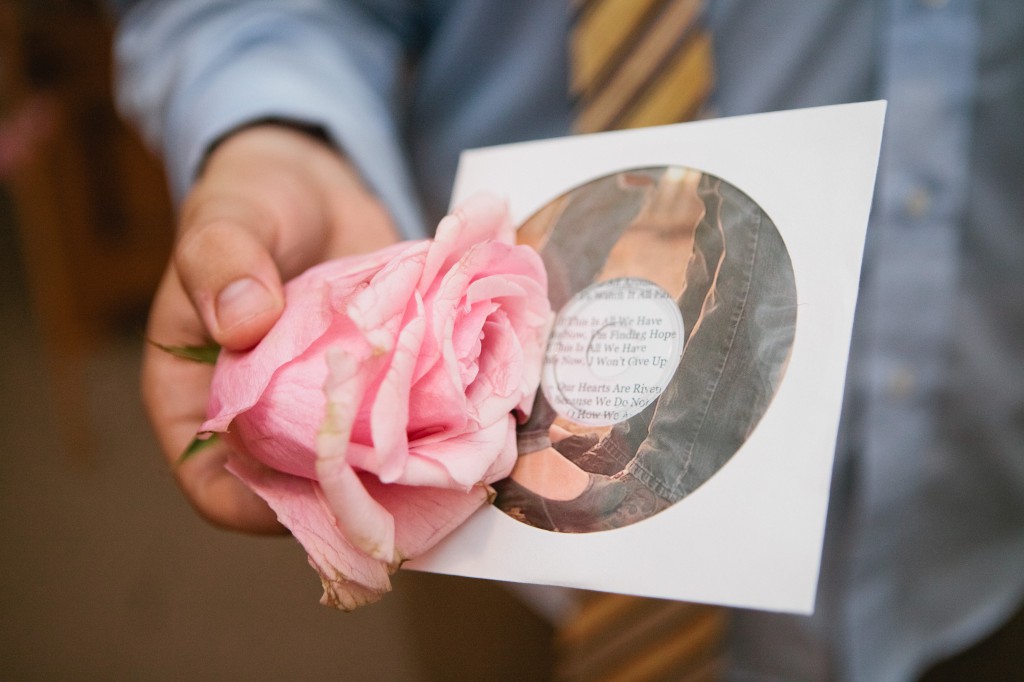
Last but not least, one of Drew’s most invested wedding projects was a mixed CD of songs that were meaningful to our relationship or inspired him. We handed these out to guests at the end of the night. Note the engagement photo CD label! :)
So there you have it! DIY projects galore. See my recap of our save-the-date designing process and invitations here!


